Sunday, August 30, 2015

Review: Carols Daughter hair smoothie


Another hair-related post! If you missed my last post, which I talked about my new haircut and dyeing my hair, you can catch up here

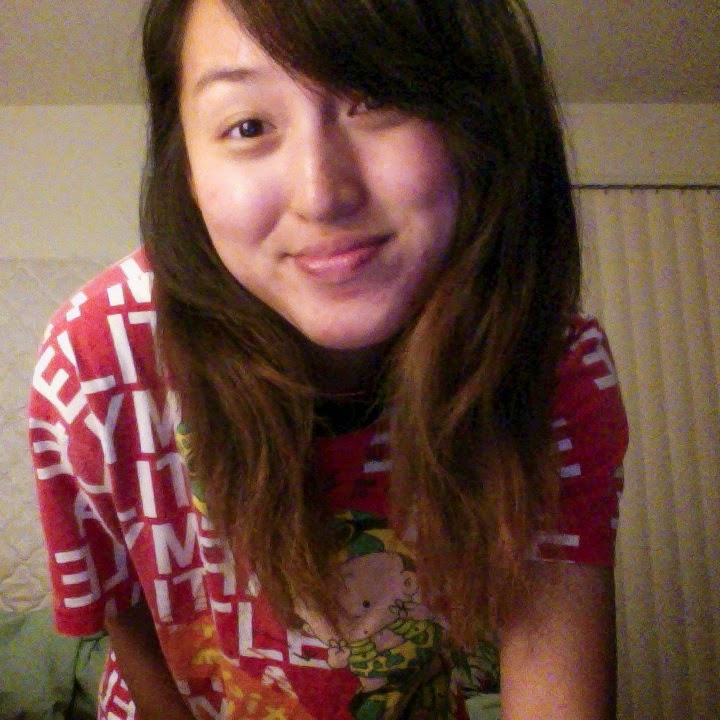
With my fresh new 'do, I realized that I need to start taking better care of my hair and find ways to give my hair the shine and softness that it's been lacking for who knows how many years now. With my full asian genes at work, my thick hair is course and gets slightly frizzy after a wash. Also, when I was in the hair salon getting my haircut, the lady commented on my hair looking dry and dull. I was mainly looking for a hair mask that would moisturize, soften, and add shine to my hair. So the other day when I was in Target, I picked up this product: Carols Daughter moisture & shine hair smoothie in Black Vanilla. This stuff smells so wonderfully sweet and delicious! It reminds me of sugary vanilla cupcakes. Not just ONE cupcake, but cupcakeS because it's got such a rich & sweet scent. The 'smoothie" part of the product refers to the whipped consistency, which is more on the liquid side. Despite the instructions that say to use it on wet hair, the beauty consultant actually suggested to apply it directly on dry hair, and leave it in overnight for a deeper treatment. That night, I applied it generously all over my hair and left it in for 30 minutes, with a hair cap on. The formula absorbs quickly, making it easy to apply a lot of it at once. I used a golfball size amount on my short-medium long hair, which I now think about it, I may have applied too much. Going for ping-pong size amount next time. After the wash, my hair was instantly soft and smooth, it added a bit of shine, too! 

The product claims it restores moisture, improves manageability, and enhances shine, and after one use, I feel like it did it all. I'm vey impressed with this product, and I love that it's free of parabens, artificial colors, and other harmful ingredients. It smells so good that it feels like a real treat when I'm using it. I highly recommend this hair mask for anyone with dry and course hair and who are looking for a quality deep hydrating hair formula. 

Tuesday, August 25, 2015

Hair change! | New cut and color

Outdoors

Indoors

I've been wanting to change my hairstyle for a while now. My ends were dried out from the ombre I had (read my post on DIY ombre here), and being that I naturally have thick hair and lots of it, sometimes it can be hard to manage. For my haircut and color, I was inspired by the Korean trend, where the women's hairstyles are simple, yet sophisticated. 

Let me explain how the haircut happened. It was quite spontaneous. I mean I've been wanting to get a haircut since June, but I never thought I would be getting one over the weekend when I was visiting the city. My mom and I were walking on the streets of Chinatown, and there was a hair salon on almost every corner. The prices for a basic haircut were between $5-12. From living in the suburbs and paying $20 and more for a haircut, this was such a deal! It never occurred to me to get my hair cut in Chinatown, but when the hairdresser saw me standing outside her hair salon eyeing the prices, we made eye contact and the next thing I knew I was led inside...and seated for a haircut. In all of my 21 years, I have never walked out of a hair salon happy and satisfied with the cut. I've learned to just work with it. And this was no exception. I don't know if the problem is me and that I need some time to feel out the new hair, but it just never comes out the way I envisioned it to be. I think all the times of looking at pictures of celebrity hair has set my standards pretty high. Anyway, I thought the hairdressser had cut my hair too short and gave me very few layers. Layers are essential for someone like me, who has thick hair. The hairstyle requires styling for it to look presentable, and that's the real deal breaker for me. I'm the kind of person who would choose to sleep in five more minutes over getting up early to put makeup on, so I'm not a huge fan when it comes to spending a lot of time in the mornings to get ready. My friends also commented on the new cut and pointed out how the ends looked choppy and frizzy. I don't really know what to think about my haircut. One minute I feel the cut looks cute and fresh, and the next I think my friends are right and that I aged five years with the shorter 'do. What do you think?

As for the coloring, I decided to try the Asian hair dye brand, Liese, in the color Marshmallow Brown. The applicator is a bottle that has a foam dispenser as the cap. All you have to do is mix the solution in it, and squeeze the center of the bottle to dispense the foam and lather into hair. Super easy and mess-free! Like all hair dyes, the smell wasn't great, but it wasn't overwhelming like the Western brands I've used (Garner, L'Oreal, etc). I liked that the formula made my hair smooth after the wash. Overall, the hair color kit was easy to understand and use. On my naturally dark brown hair, the color came out a subtle warm brown, just a slight shade lighter than my natural hair color under normal lighting. Because I washed my hair the day before and used conditioner, I washed my hair again with bar soap on the day that I dyed my hair, mother says it helps the color show more, as the bar soap strips the conditioning residue away. Not sure how well it worked, but I figured that mothers know best. I'd also like to point out that the color appears lightest around my hairline, so it's slightly uneven from up close. A tip for future users is to spend more time applying the dye on the ends of your hair. Since the scalp gives off the most heat, making the hair around it easiest to color versus the ends of the hair. All in all, it was a solid product, and I would consider this brand or even try another Asian brand again the next time I decide to dye my hair.

The good...
:: easy to use :: drip-free formula :: non-drying :: smell wasn't overpowering :: decent coverage - no patches of color ::

& the bad 
:: conditioner scent ::

Liese in Marshmallow Brown

Colored hair under different lightings indoors:


before & after


Have you used Asian hair dyes before? What was your experience like?

Saturday, September 6, 2014

First Blogiversary! ...and something more

It was exactly one year ago today that I started The Little Things and More blog, a place that has grown and went through many changes since the first post. Initially, I was convinced that I was going through a baking phase and thought it would be fun to share my many baking attempts on here. (I was mostly excited about getting to put up countless pictures of all the sweet treats I made). I even tried my hand on doing some fashion and beauty posts - actually, my very first post was on the Maybelline's baby lips collection. But as time passed, all the baking I did wasn't exactly a phase as I do very much enjoy making cookies, cupcakes, and such in my free time and somehow, it led me to venture out to do other food-related posts. Then, the occasional beauty and general list posts came into the mix and a blog that is filled is filled with everything food, beauty, and life related adventures was born!
I remember I was so horrible at writing in diaries when I was young, but I think I'm getting a a hang of this blogging thing :)

~ ~ ~ Happy 1st Blogiversary! ~ ~ ~

Moving on to the second part of this special post - it's about the hair! I've been wanting to color my hair for some time now. I orginally wanted to dye my hair a different color, but I didn't want to worry about having the roots grow out, which led me to look into the very popular ombre hair style. After watching a couple of How To videos on Youtube - I especially liked these two: Video #1 and Video #2 -  I went to Target and picked up an ombre hair color kit.

Hair profile: Naturally wavy, dark brown asian hair.


I picked up L'oreal Intense Ombre Kit for Dark Brown to Soft Black Hair. Being that I have thick asian hair, I was worried that the dye would make my hair coppery, so while I was at the store, I also bought L'oreal Ever Pure purple conditioner to use after coloring my hair. 

The whole process took about two hours, including the showering and cleaning up afterwards.
 - Please note that I'm no expert on this and this was my first ombre experience -

What I did:
- SECTIONED HAIR in small parts to create a messy ombre
- BLENDED the mixture well around where the ombre starts
- after 20 minutes, RE-APPLIIED mixture to the tips of the hair
- to prevent dryness, CONDITIONED hair with a purple conditioner again after using the conditioner included in the ombre kit

Quite honestly, I didn't think the ombre came out light enough. But it could have been a lot worse considering this was my first time. Surprisingly, my ends are not as dried out as I expected - props to all the deep conditioning that I did.
As you can see in the pictures below, the ends did not come out blonde like I'd hoped so I'm thinking of lightening the tips a bit more to a more caramel color for a soft ombre effect. I'm debating whether I should re-dye the ends again with a lighter color or try the chemical-free way, which is to mix some honey in my purple conditioner every time I wash my hair. I may not even do anything at all...I shall have an update on this soon! At the moment, it has definitely fulfilled my longing for a new hair change.

 Before

After


While I was at the store, this warm caramel color caught my eye. Debating whether I should go back and get it to use it on the ends of my hair. What do you think, yay or nay?


Taken the next day.
The color appears subtle on camera, but a lot intense in person.


Did I mention I also made a quick video on my first ombre experience?